A Field Guide to Pitted Corrosion Removal on Aircraft Aluminum
Step 1: Verify the Damage Limits First
Before any cleaning method touches the aircraft, consult the airframe Structural Repair Manual. If a pit or blended dish-out would leave the skin or extrusion thinner than the SRM minimum (typically 10% of original thickness, or 0.020" on a 0.040" Alclad panel), the part is repaired or replaced — not cleaned.
Use a dial-depth gauge or pit gauge to confirm remaining thickness. Mark each pit with a fine-tip marker and photograph the area before any work begins. The photo is the legal record that establishes the starting condition.
Step 2: Light Pits (< 0.003" deep)
Powdery surface bloom and shallow pits respond to mechanical cleaning. Use plastic or Tampico fiber brushes, aluminum wool, or 150–240 grit AlOx cloth. Never use steel/copper brushes or silicon carbide on clad skins — they'll embed particles or cut through the cladding.
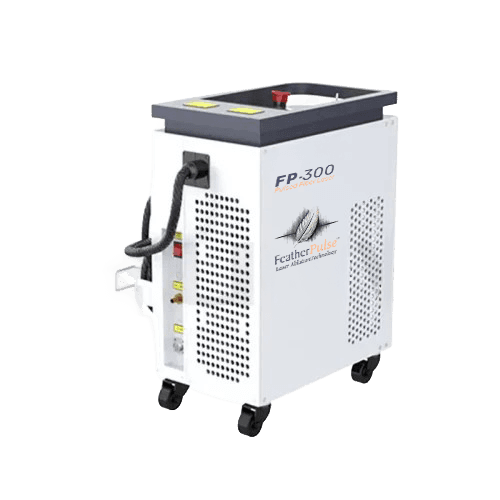
For laser cleaning, set the FP-300 to 180 W at 80 ns pulse width, 35 kHz frequency, with a circular scan pattern at 300 mm/s for 2–3 passes. The visual stop indicator is satin-grey aluminum without any pitting visible.
Step 3: Medium Pits (0.003–0.010" deep)
Medium pitting on open skin can be addressed with mechanical blending or low-pressure plastic media blasting. The blending must produce a 20:1 length-to-depth ratio to fair the dish-out properly. Closely spaced pits should be blended together so no isolated gouges remain.
For laser cleaning, increase to 220 W at 100 ns, 30 kHz, with a petal scan pattern at 200 mm/s for 3–4 passes. Start with a low-power "mapping" pass to outline the affected area, then progressively step power up as you remove the corrosion products.
Step 4: Deep Pits (> 0.010" deep)
Deep pitting in complex geometry or on rivet lines is where laser cleaning earns its keep. The FP-300 reaches into geometry that mechanical tools can't, without risking the hidden alclad or rivet shanks. Set 260 W at 120 ns, 25 kHz, with a cross-hatch scan pattern at 150 mm/s for 4–6 passes.
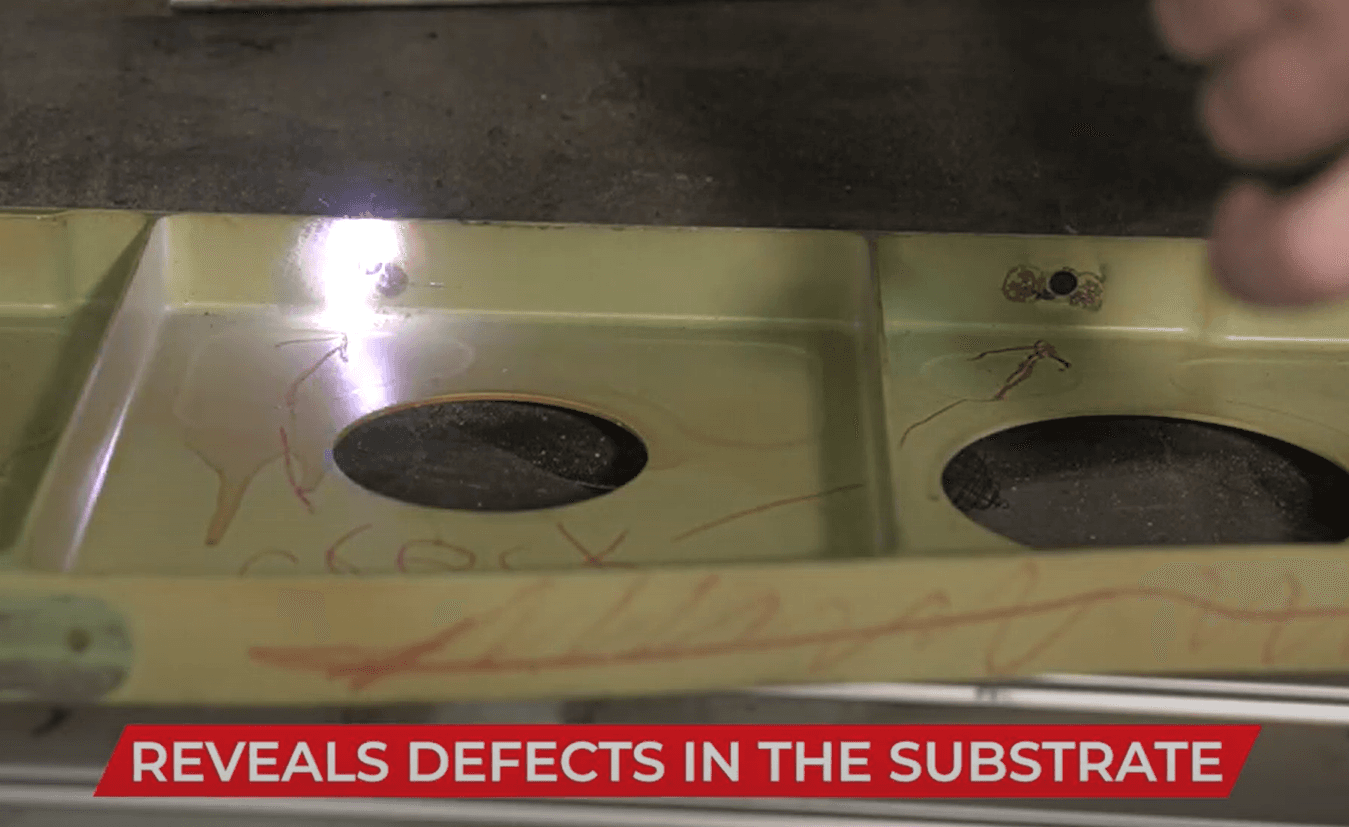
Critically: stop the moment satin aluminum appears across the full pit floor. Continuing past that point is how operators inadvertently exceed the 25 J/cm² substrate damage threshold.
Step 5: When to Stop and Call Engineering
Some corrosion types should never be addressed with surface cleaning, regardless of method:
- Intergranular corrosion — propagates along grain boundaries, invisible from the surface, can mask deeper damage
- Stress corrosion cracking — requires specialized repair; surface cleaning compromises evidence
- Exfoliation corrosion — layer separation is internal; surface cleaning gives a false sense of security
If you discover any of these during cleaning, stop immediately, mark the area, and route to the responsible engineer. Eddy-current or borescope NDI is mandatory before any further work.
Step 6: Surface Verification
After cleaning, the water-break test is the field method for verifying surface cleanliness. Spray a fine mist of distilled water on the cleaned area. If the water sheets evenly across the surface (no break, no beading), the surface is free of contaminants and ready for conversion coating. If beads form anywhere, more cleaning is required.
Eddy-current thickness measurement after cleaning should show less than 2% loss vs. the pre-clean baseline. Document both readings.
Step 7: Conversion Coat Within 8 Hours
Bare aluminum re-oxidizes rapidly in atmospheric humidity. The 8-hour window for chromate or trivalent conversion coating (per MIL-C-81706) is non-negotiable. If you can't conversion coat within the window, re-clean the area before the conversion step.
Apply primer per the SRM paint schedule, top-coat as specified, and edge-seal seams with a corrosion-preventive compound (LPS-3 or equivalent) in bilges and wheel wells.
Step 8: Document and Release
The maintenance release should record:
- Aircraft tail number and panel/structural station
- Date, inspector initials, and operator name
- Cleaning method used (FP-300 laser, mechanical, etc.)
- Parameters used (power, frequency, pulse, scan speed, passes)
- Pre- and post-cleaning thickness readings
- Surface roughness measurement (Ra in μm)
- Conversion coating applied and within-window timing
- Photos before, during, and after
Quick Decision Tree
- Light powdery pits, < 0.003" deep? Hand brush or low-power laser → conversion → paint.
- Medium (≤ 10% thickness) on open skin? Mechanical blend or laser cleaning, both acceptable.
- Complex geometry, rivet lines, or environmental concerns? Pulsed-fiber laser cleaning is the preferred method.
- Beyond limits or in critical member? Engineer repair or replace; no cleaning will save it.